Add craft and invention to your life
The next time you want to make something, repair something, or find a new creative outlet, come to BARN. You’ll find a vibrant community of artisans and makers eager to help you get started. You’ll also find 10 well-equipped studios. These community workspaces offer online and in-person classes and the tools you need to explore everything from 3D printing and jewelry making to weaving, woodworking, and more. Come see for yourself!

Upcoming Classes & Events


How BARN works
Ready to get started?

Take a class
Everyone is welcome! Classes are online or at BARN and are open to anyone high school age and up. You don’t need to be a member — BARN classes are a great thing to do while visiting Bainbridge Island. In addition, summer and after-school classes are offered for teens and tweens. What will you make at BARN?
Find a Studio
Become part of a community that shares your passions. Each of BARN’s 10 studios focuses on a discipline such as fiber or wood. If you already know what you’re interested in, visit that studio page to find out what you can learn there, what equipment is available, and where to begin. Still searching for inspiration? Sign up for a studio orientation session, subscribe to the studio newsletter, or contact the studio lead.
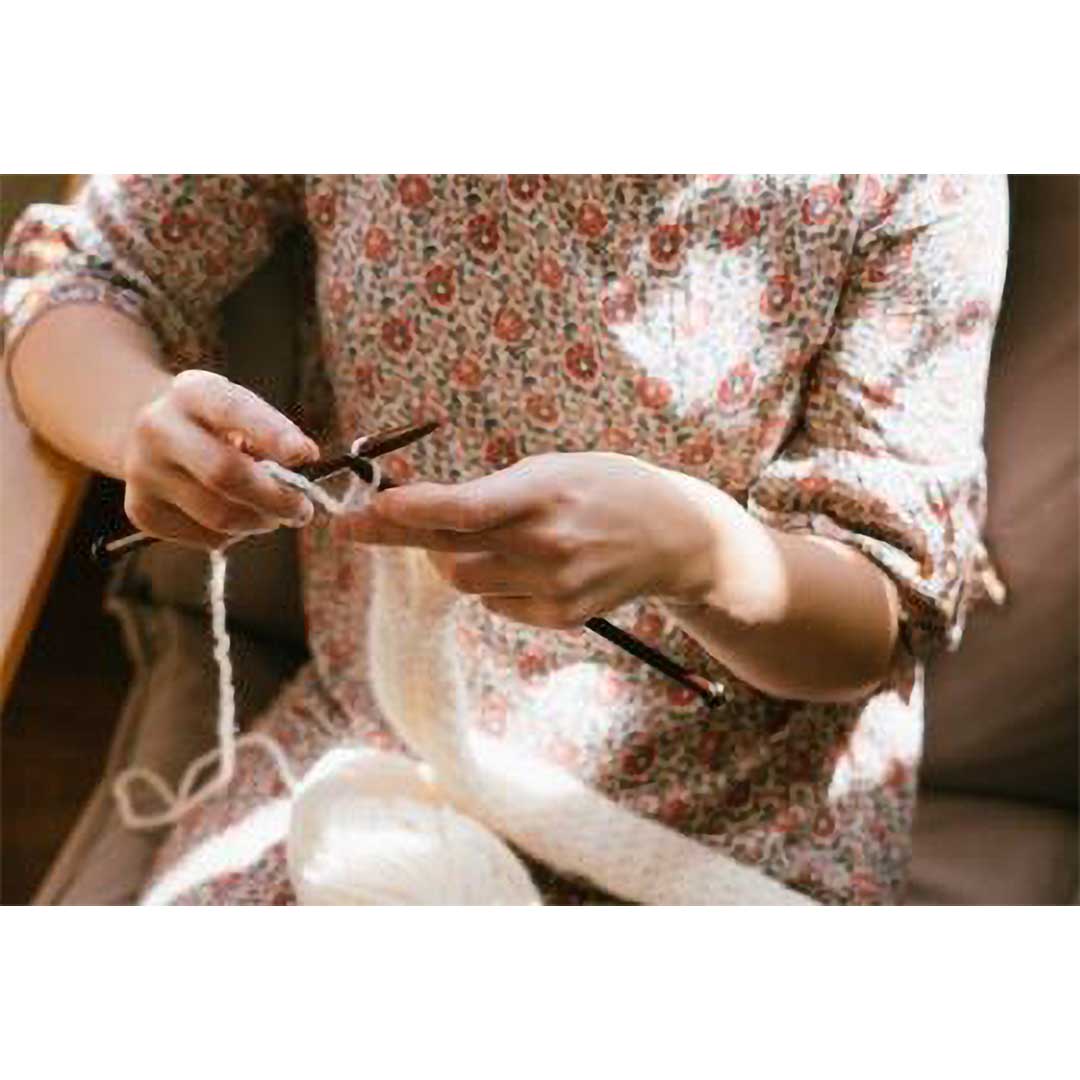
Fiber Arts
Basketry
Needle arts
Sewing
Surface design
Weaving
more…
Fiber Arts
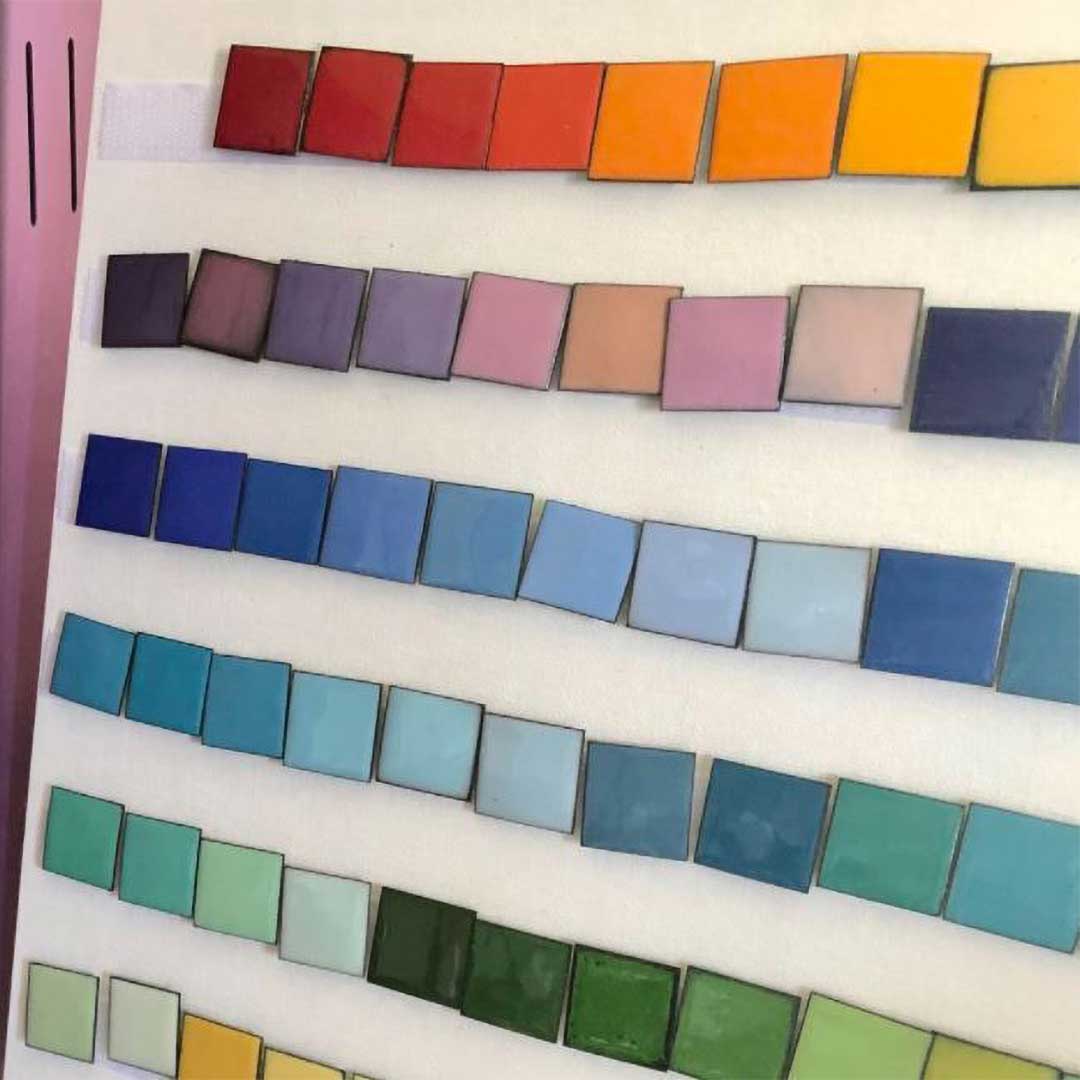
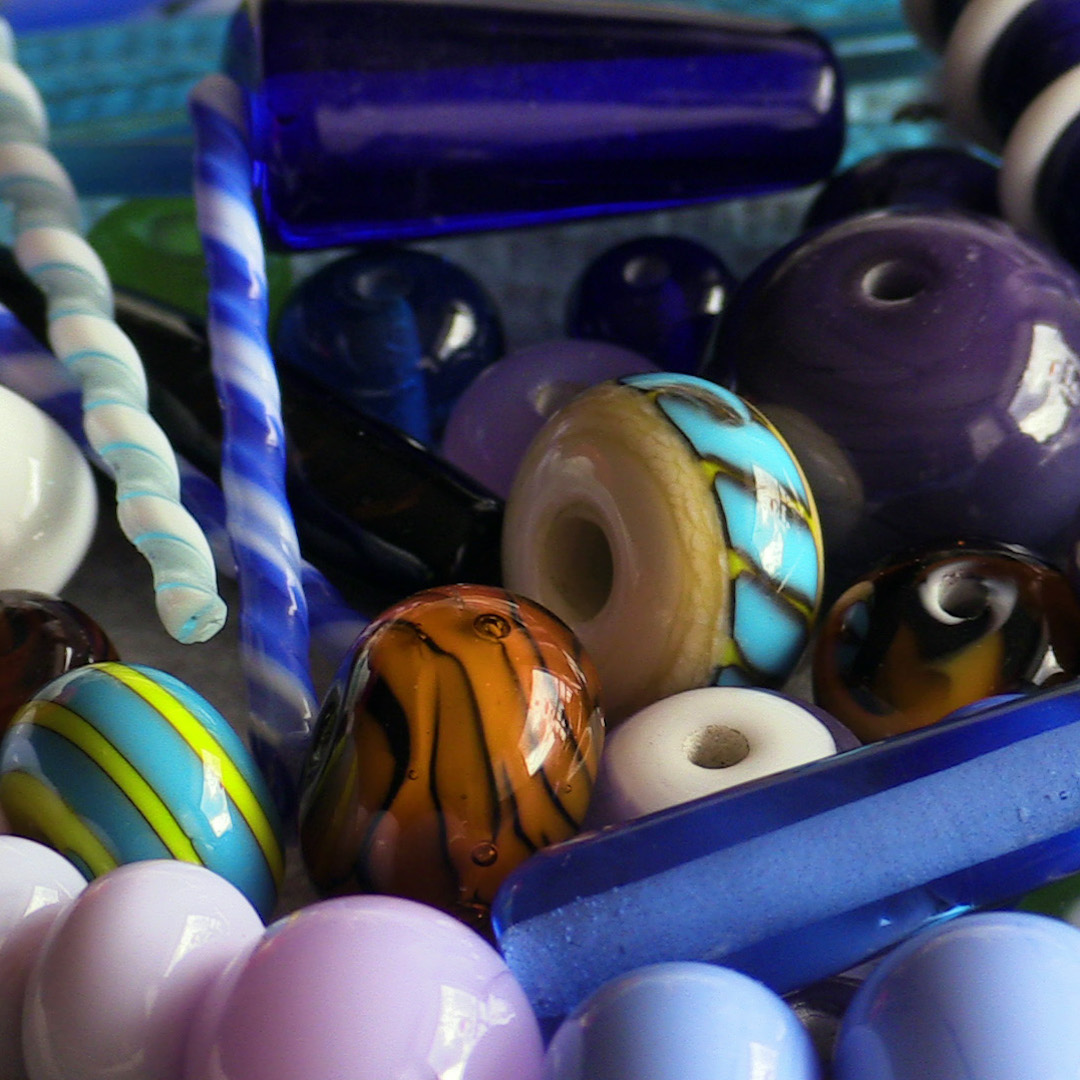
Glass Arts
Fused Glass
Glass Mosaics
Stained Glass
Torchworking
more…
Glass Arts
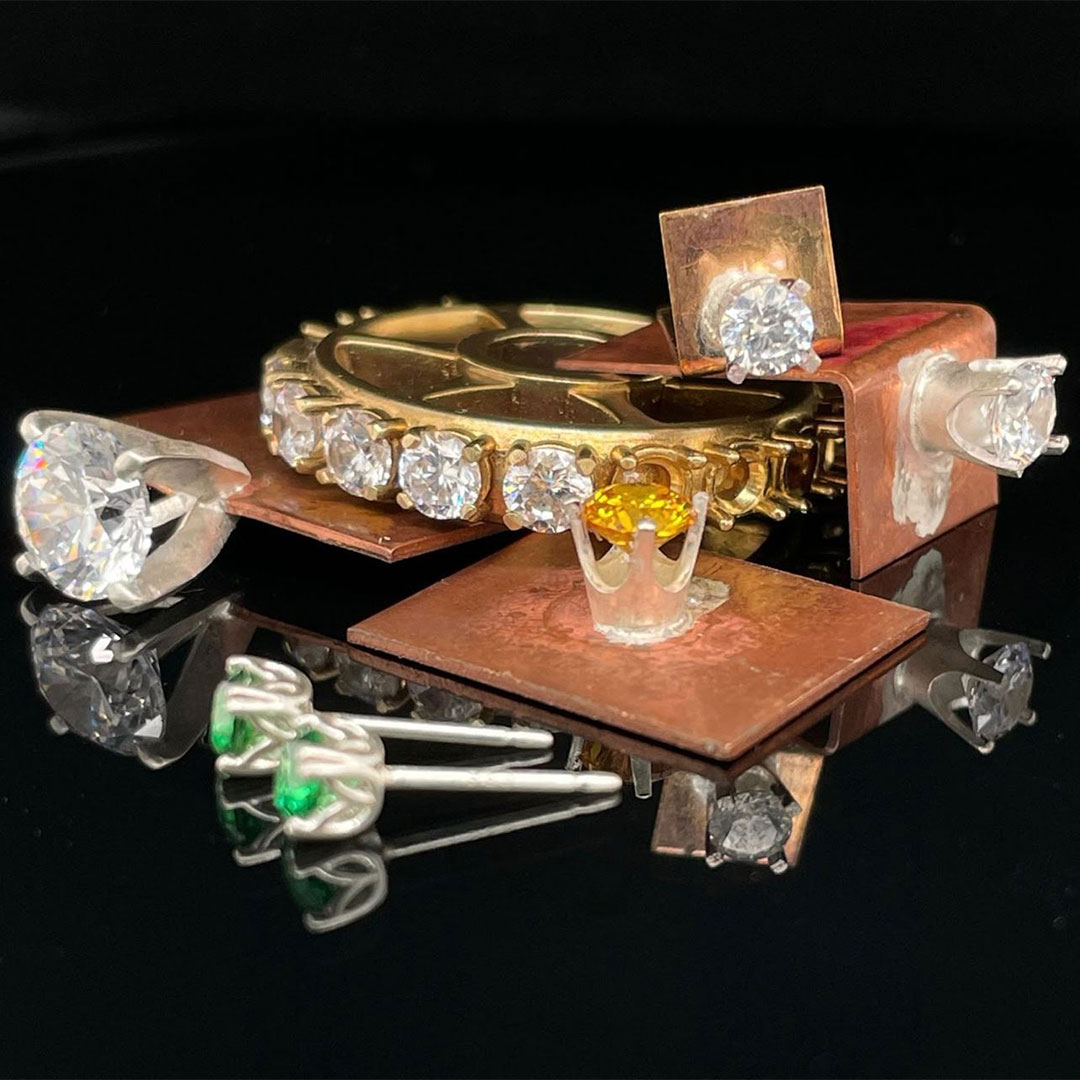
Jewelry & Fine Metals
Beadwork
Enameling
Jewelry Making
Lapidary
more…
Jewelry & Fine Metals
Kitchen Arts
Baking
Cooking
Global Cuisine
Food Production
more…
Kitchen Arts
Media Arts
Photography
Podcasting
Videography
more…
Media Arts
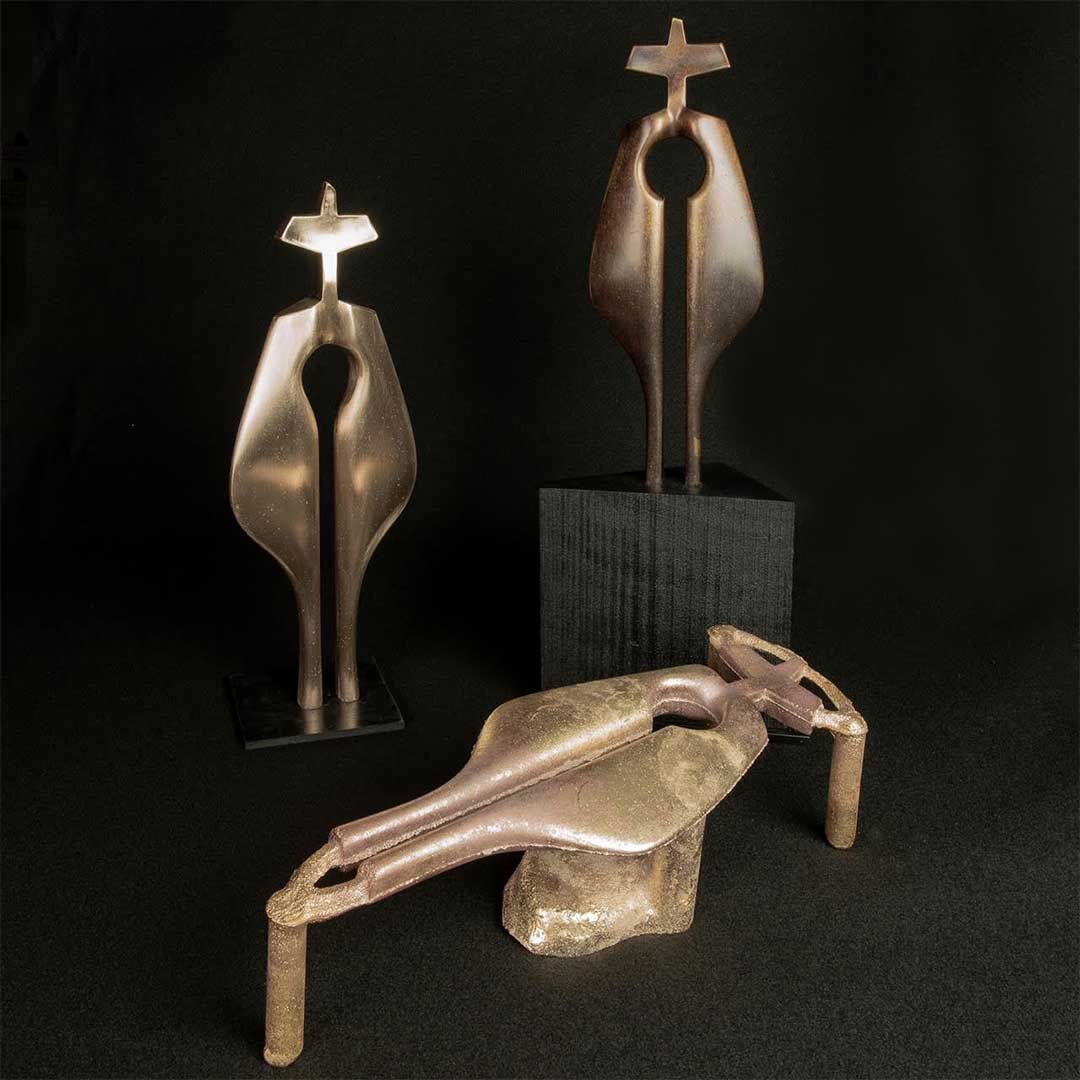
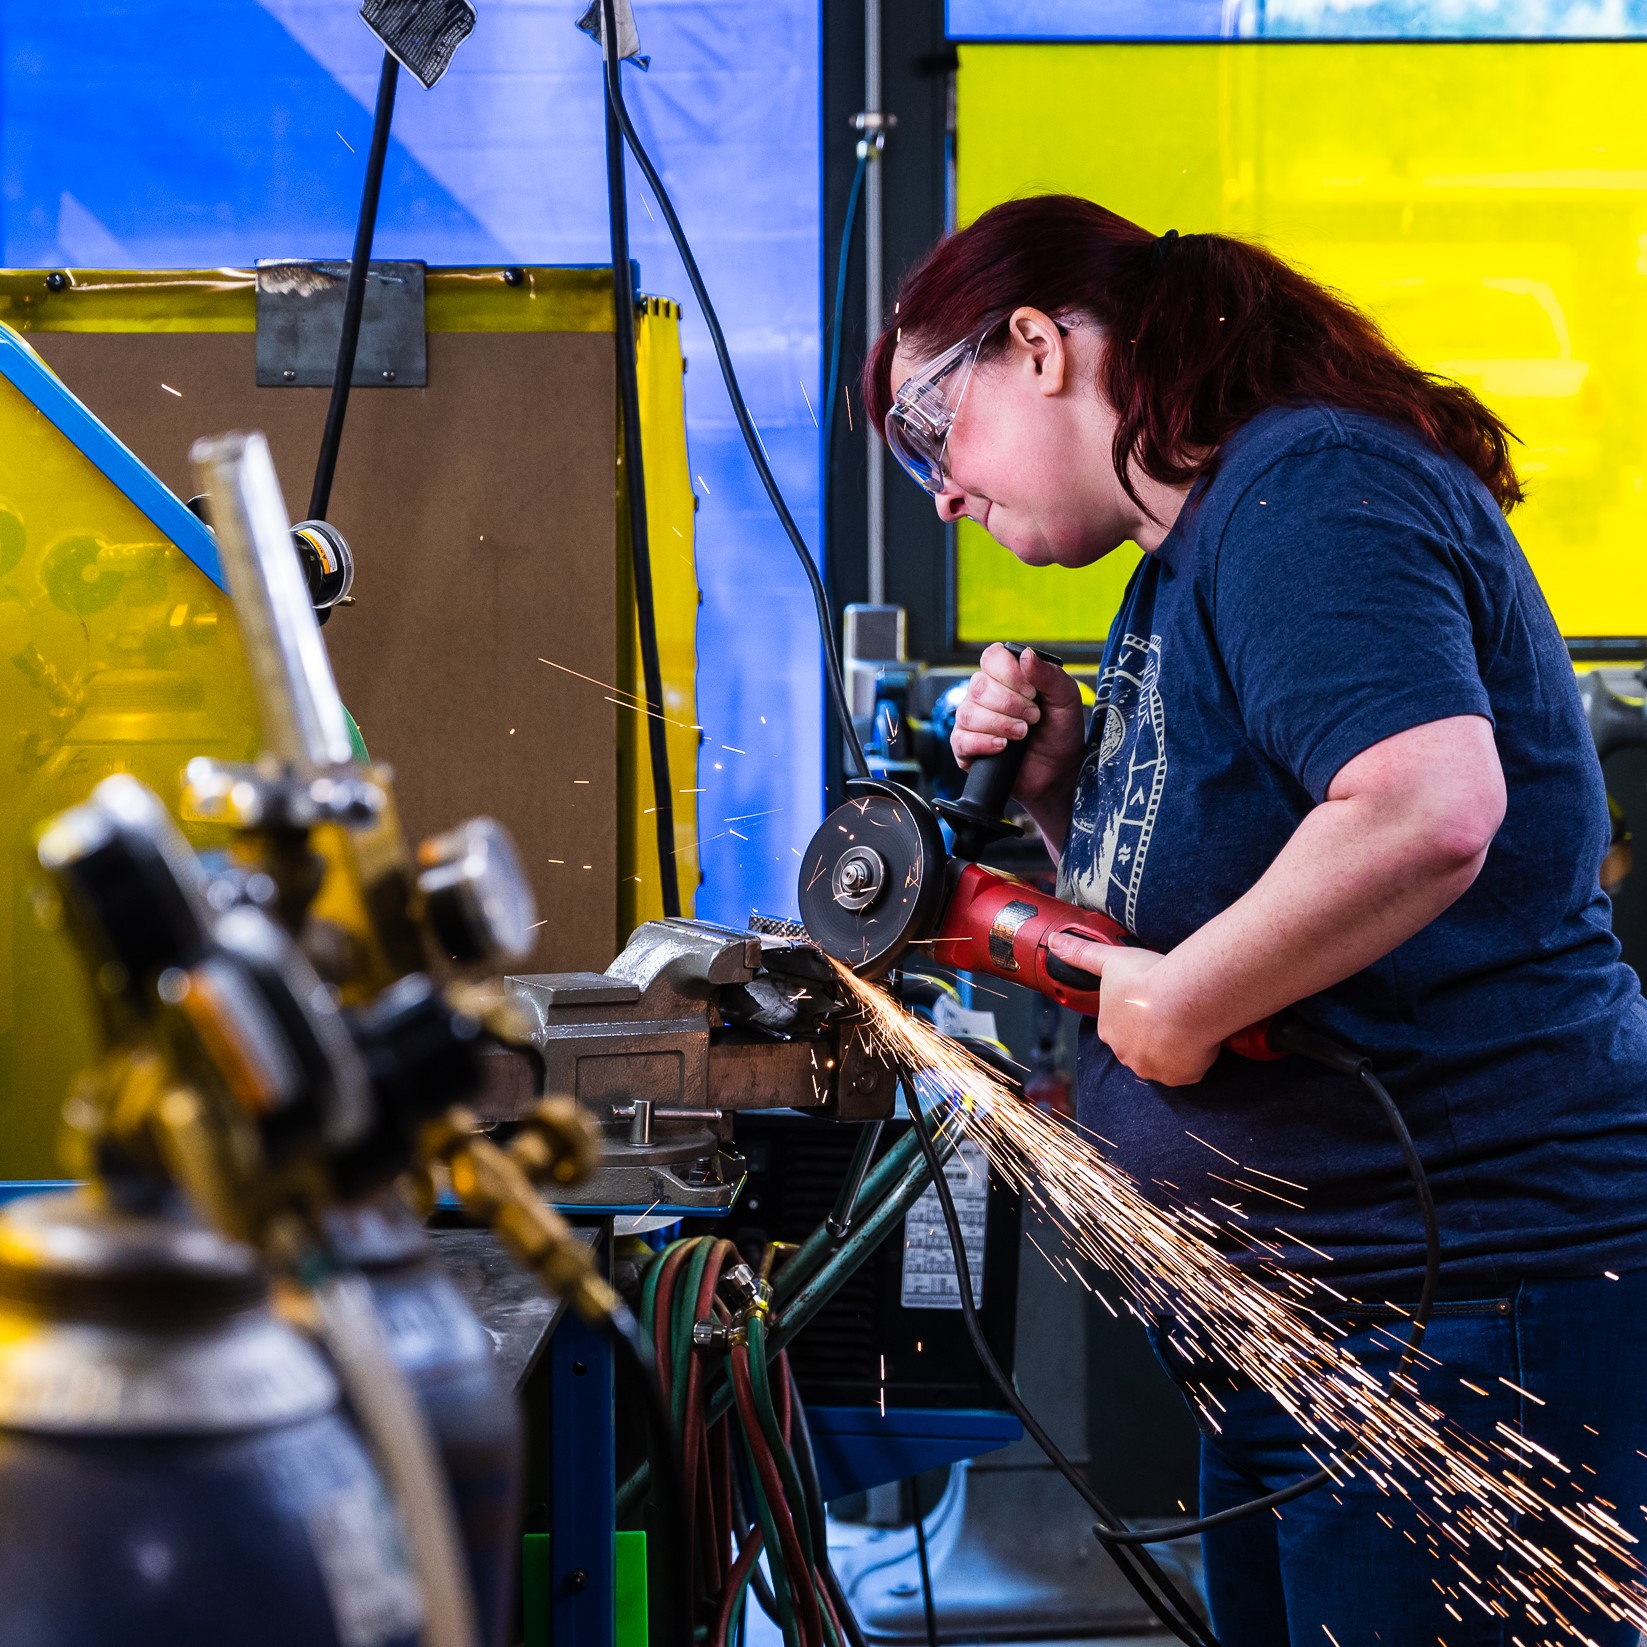
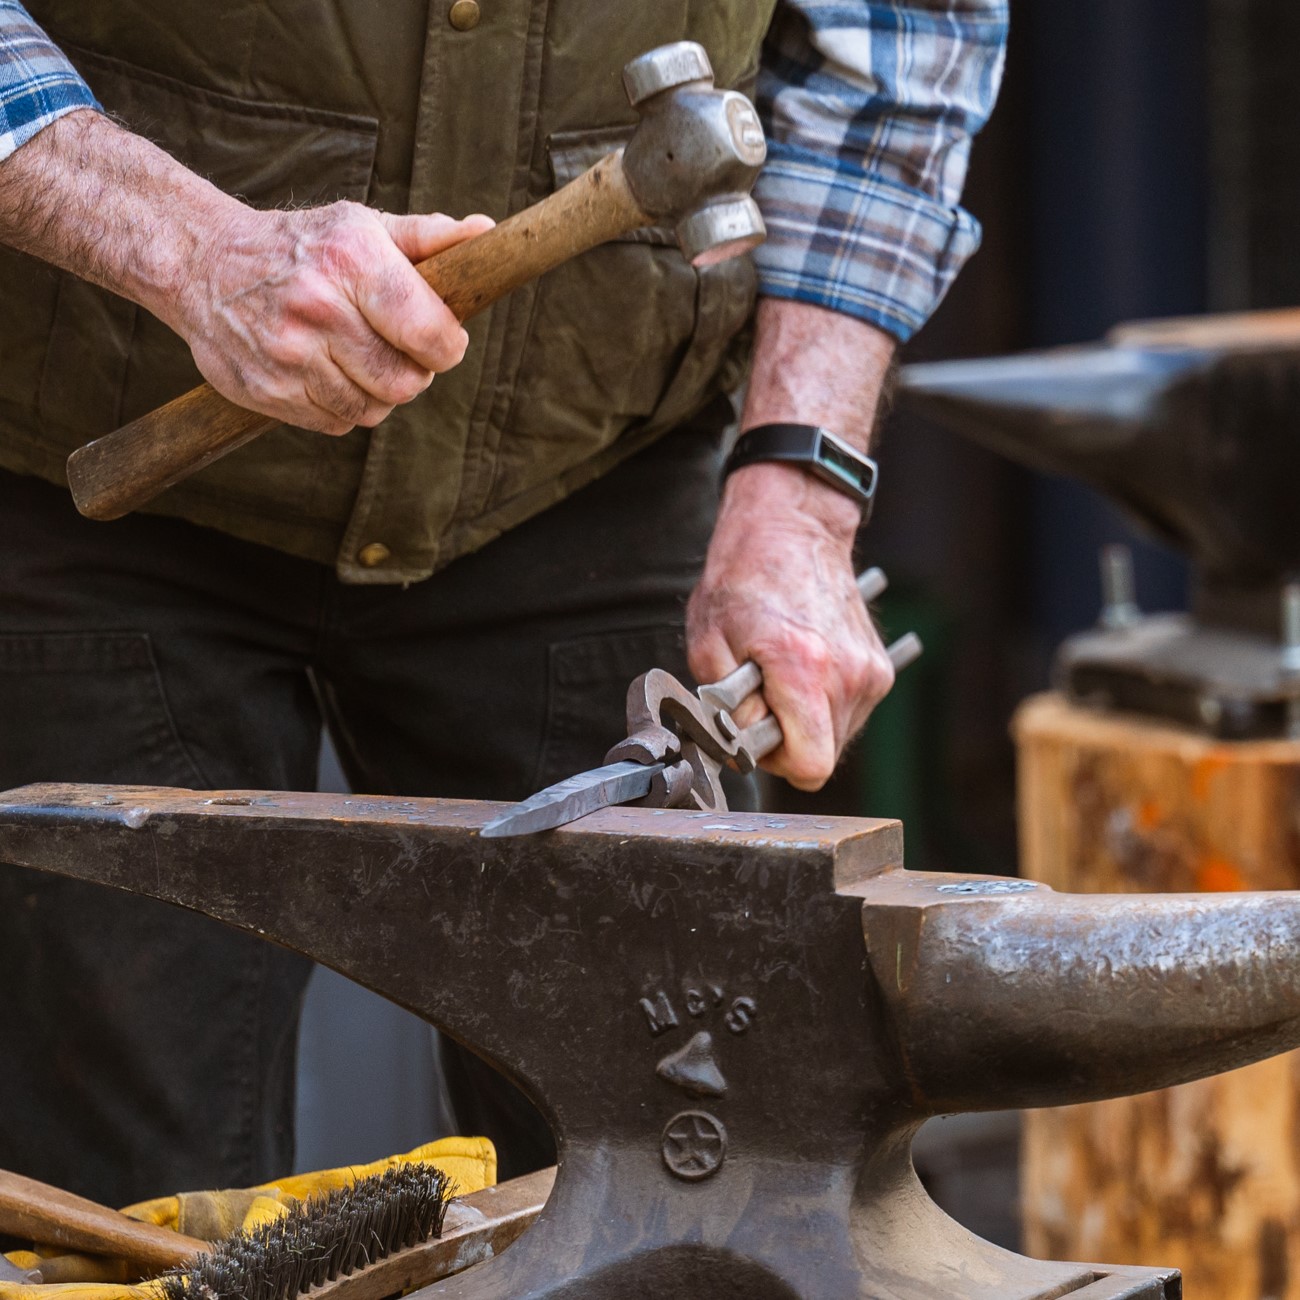
Metal Fabrication
Foundry
Machining
Sheet Metal
Welding
more…
Metal Fabrication
Print & Book Arts
Book Arts
Letterpress
Printmaking
more…
Print & Book Arts
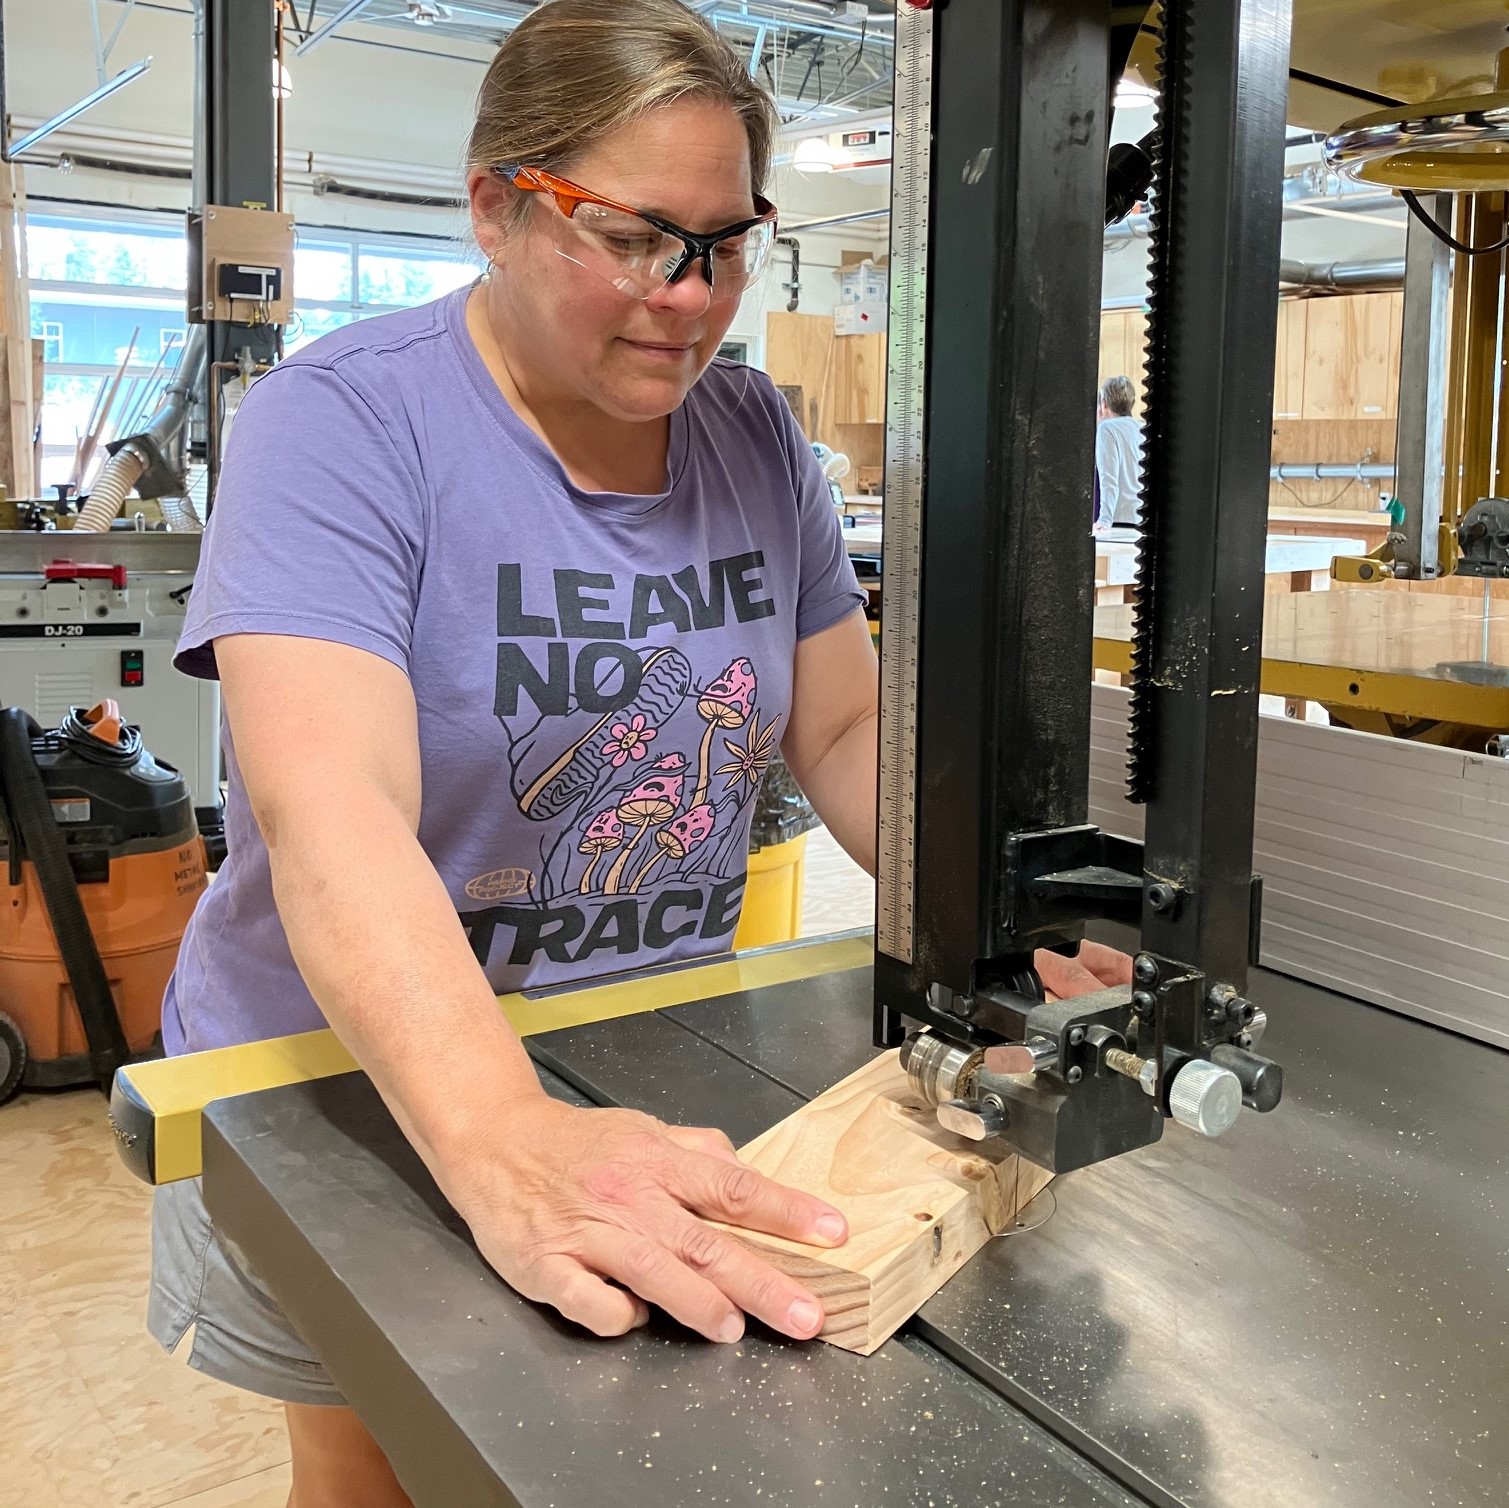
Woodworking & Small Boat Building
Woodturning
Woodworking
Small Boatbuilding
more…
Woodworking & Small Boat Building
Become a Member
Join our active community of makers and realize the full benefit of BARN. Your membership includes access to open studio times, discounts on classes, and a key fob customized to your studio interests and tool certifications. BARN offers individual or family memberships that can be paid monthly or annually. Discounted memberships are available to students, educators, and active military.

BARN News
BARN News: Don’t Miss These Upcoming Classes
BARN offers both online and in-person classes. Sewing: Pants Fit & Sew with Marla Kazell 3 meetings, beginning May 30, 9 AM ...Full story »
A Celebration of Art and Poetry
The April 5 opening reception for the Ars Poetica exhibit was a great success, with artisans and poets mingling and talking about their work. ...Full story »
A Year of Healthy Growth: Read BARN’s 2023 Impact Report
I’m pleased to share our 2023 Impact Report, which highlights some of BARN’s achievements in growing and inspiring our creative community. BARN remains in strong financial health while ...Full story »
